 |
Hide Changes |
 |
|
 |
Recent Changes |
 |
Subscriptions |
 |
Lost and Found |
 |
Find References |
 |
Rename |
| Search |
History
| 12/8/2010 3:57:25 PM |
| -77.164.62.11 |
| 12/5/2010 5:00:29 PM |
| 86.137.178.239 |
| 6/13/2010 3:22:21 PM |
| 118.142.22.146 |
| 10/24/2009 10:49:28 PM |
| -86.155.26.93 |
| 10/24/2009 10:45:01 PM |
| -86.155.26.93 |
 |
List all versions |
| Link to the main site: http://www.fordsontractorpages.nl | Link to the forum: http://www.fordsontractorpages.nl/phpbb2 |
This page is an illustrated story about overhauling a New Major. It will gradually be fine-tuned into a cohesive article.
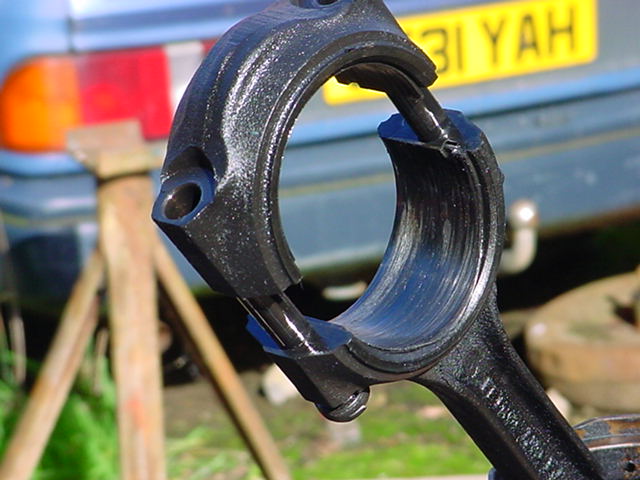
Henrietta has developed a loud squeaking noise and a heavy knock and it is all my fault! Under a bit of pressure, I took her out without changing the engine oil for about a year. Not that she gets that much work but here in lies the cause of the problem.
Henrietta is a petrol/paraffin (kerosene) fueled tractor. Unless these engines are working very hard and hot guel tends to bleed past the pistons and dilute the oil. So this has to be changed at frequent intervals to avoid problems. I was rushed. I did not do it before the season started and now I must suffer the consequenses. Just hope I have not completely ruined her as parts for these models could be a bit difficult.
Photos:
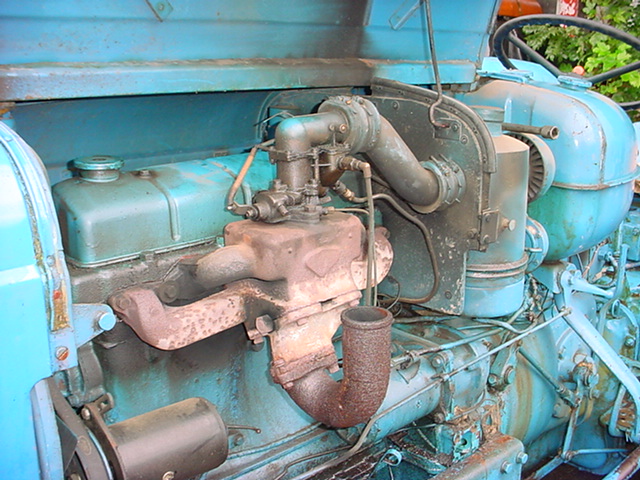
This is the vapouriser on the petrol/paraffin engines. Rather a large lump of metal. Can be subject to heat cracking and metal chrystalisation. Virtually impossible to get a new one.

The porting on the head is different too.

The valves go in at an angle rather than straight down like the diesel.Note no rotator caps on the exhaust valves and the locktabs instead of spring washers on the nuts and studs.
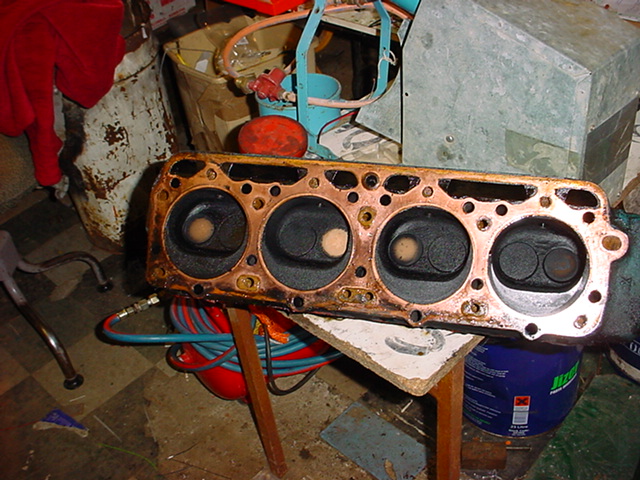
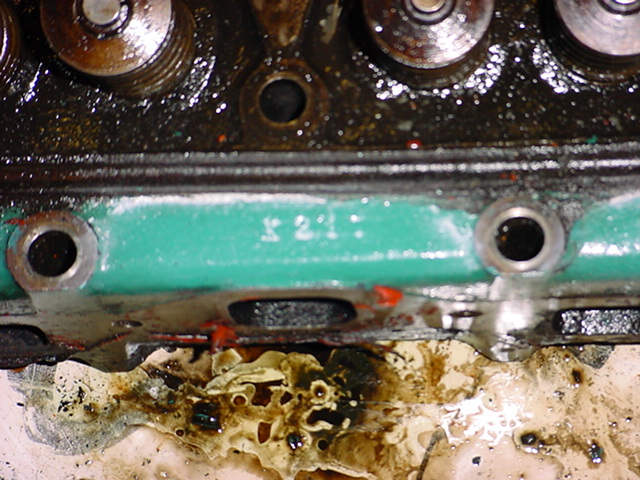
The head is off! A bit carbon-y but not too bad considering it has been on for over 50 years as far as I know.
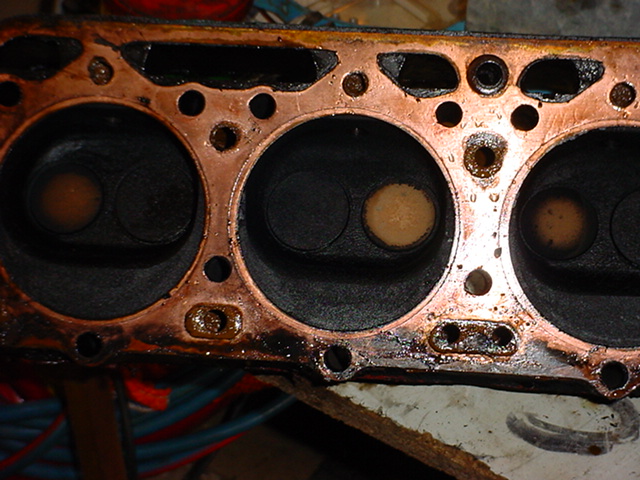
The petrol/paraffin engine has combustion chambers in the head, rather than the ones in the pistonlike the diesel version.
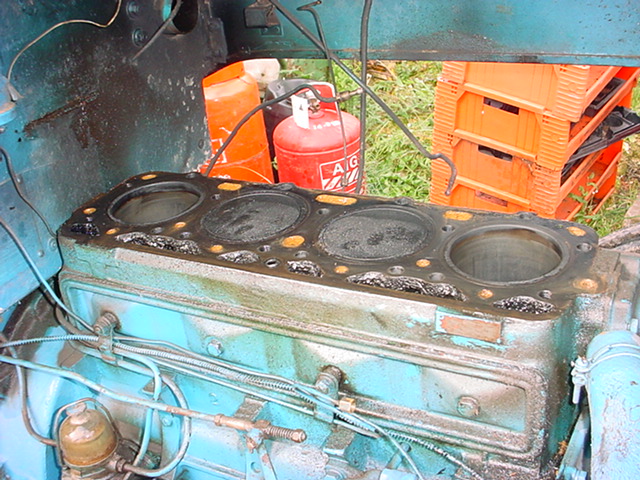
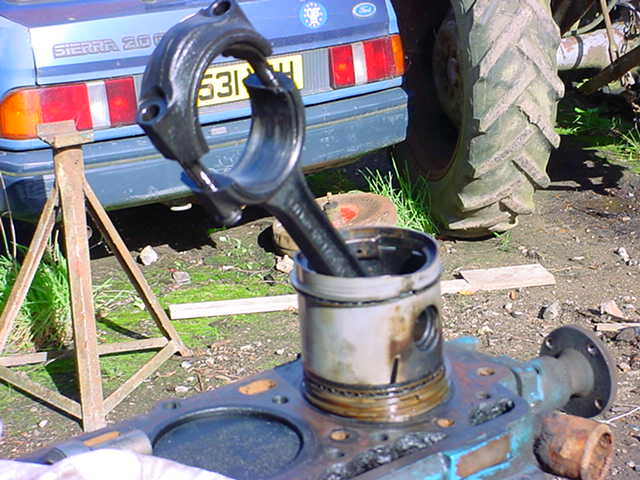
She also has flat topped pistons. Unlike the petrol version, the bore size is the same as the diesel so if she needs liners, diesel ones will fit.
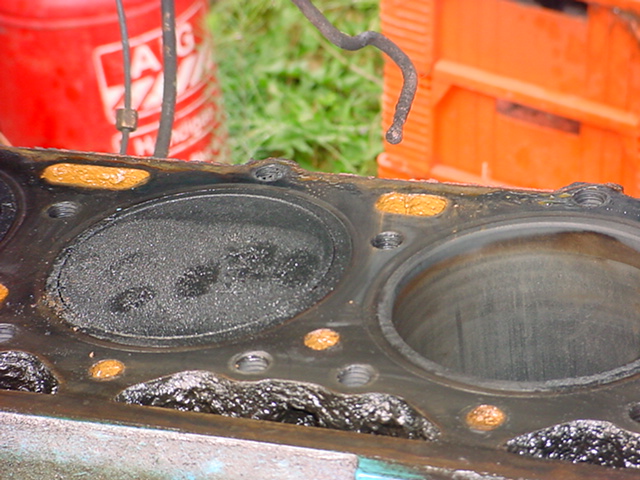
On checking, the liners are still within specs after 50 years so we will give them a polish and fit a new set of rings.N sign of a siezed piston either.


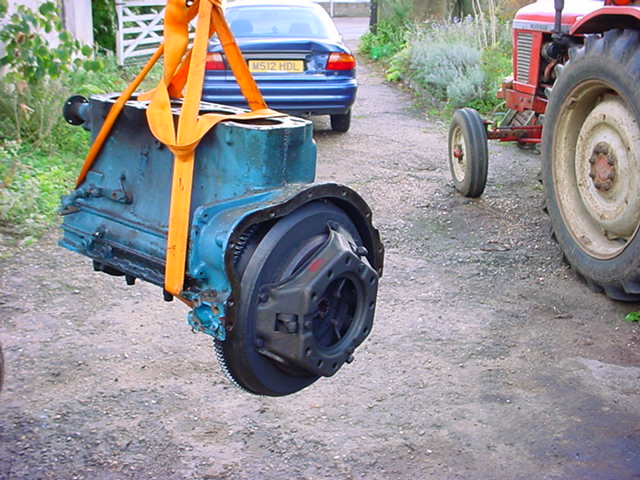
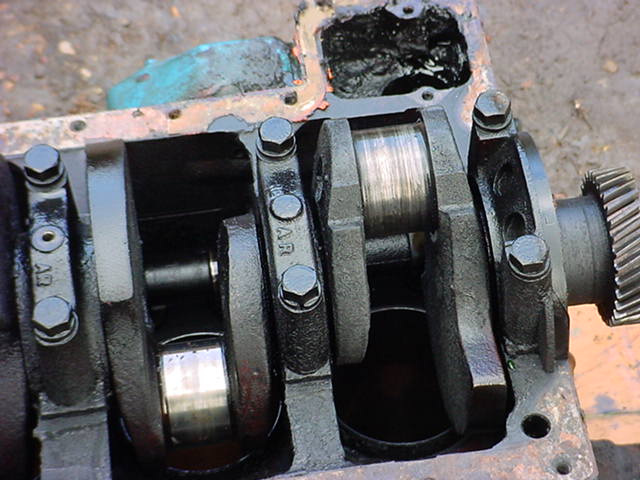
The next job will be to remove the sump. I am going to approach this job with the view to removing the engine so I intend to take the side frames, radiator, front block and axle off in one piece. This is how we used to do this, it is quite somple and reduces the lifting involved as it will run out on the front wheels.
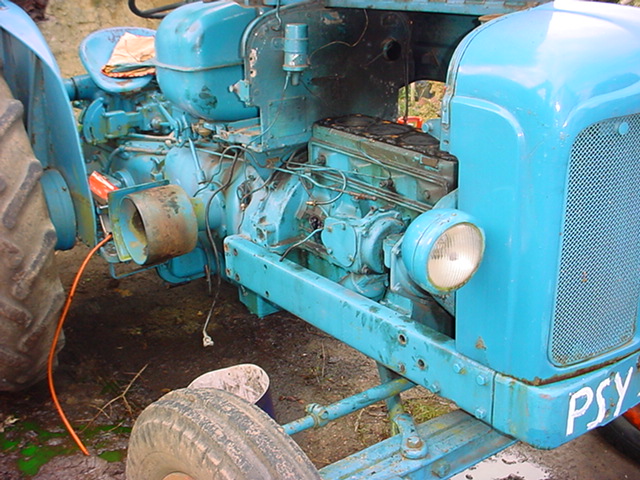
Take all the bolts out from the frame and the engine front plate mounting. Don't forget the drag link on the other side.
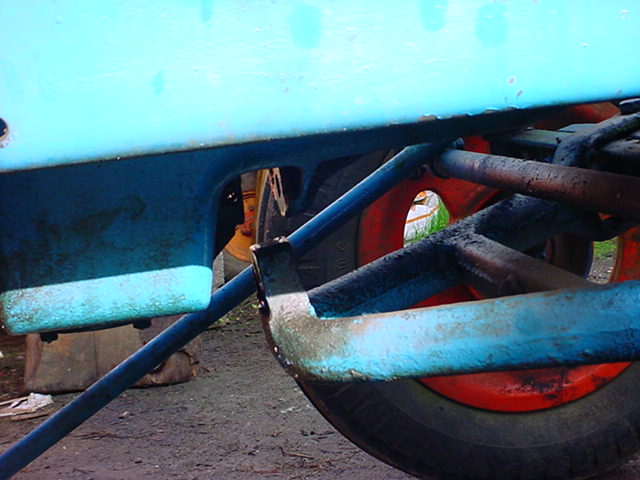
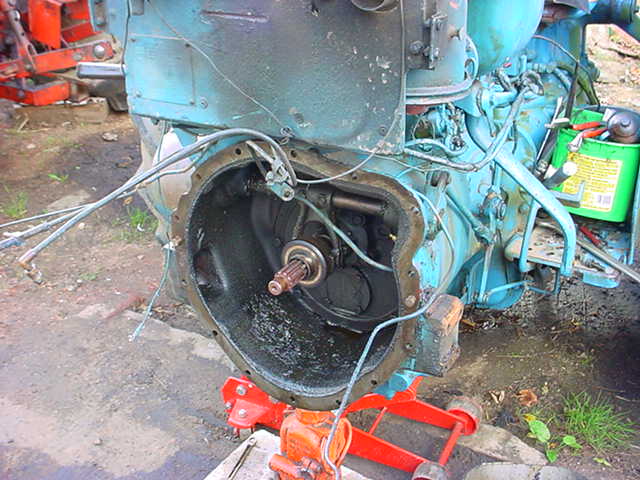
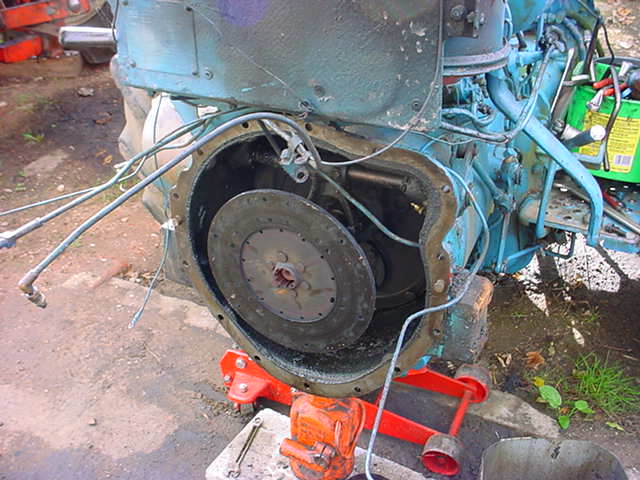
Support the engine with a jack under the clutch housing. Remove the radius rod piviot pin from the sump and raise the jack. The radius rod should drop clear of the sump allowing the axle and frame to be pushed forward.
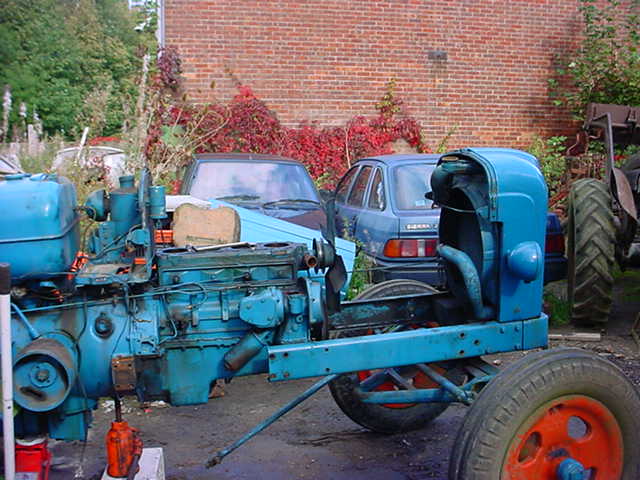
Gently does it. Everything slides out easily. Note I am on my own with no help so it has to be easy.
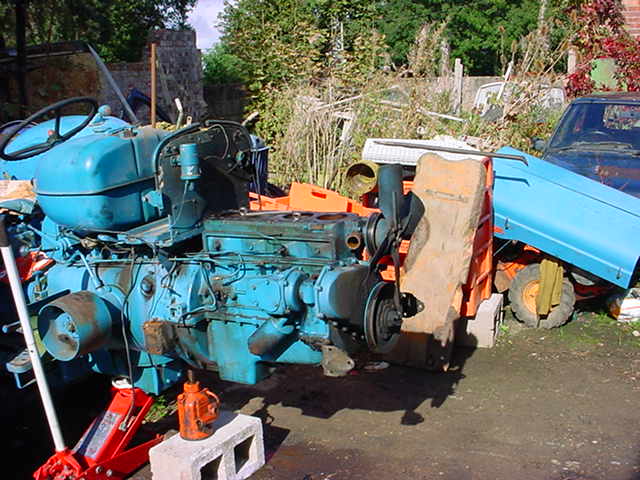
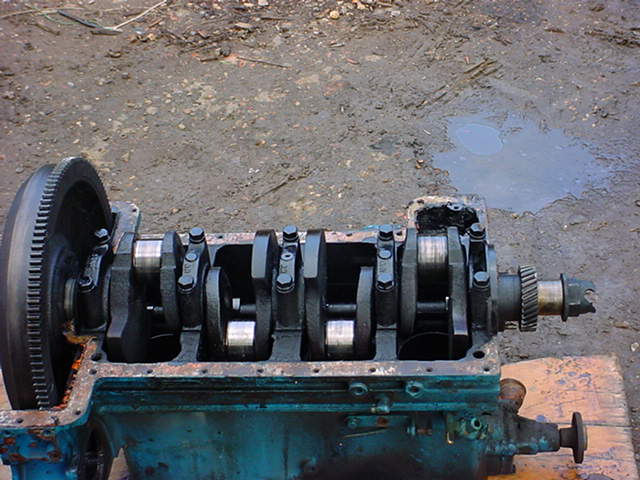
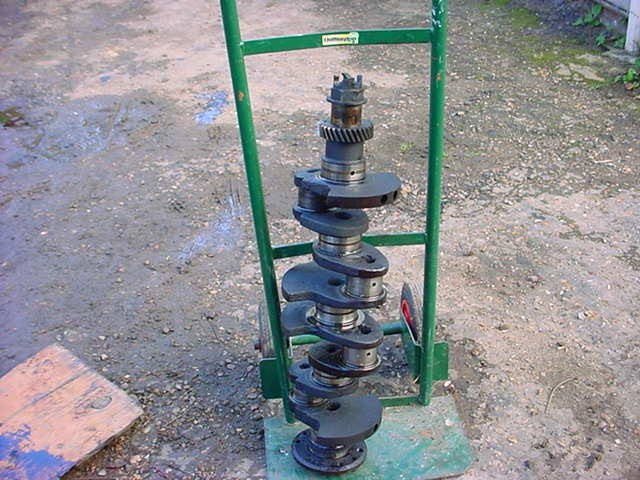
With the front end out of the way, I made sure the engine was well supported as I intend to strip it out to lighten it as much as possible before lifting it out.
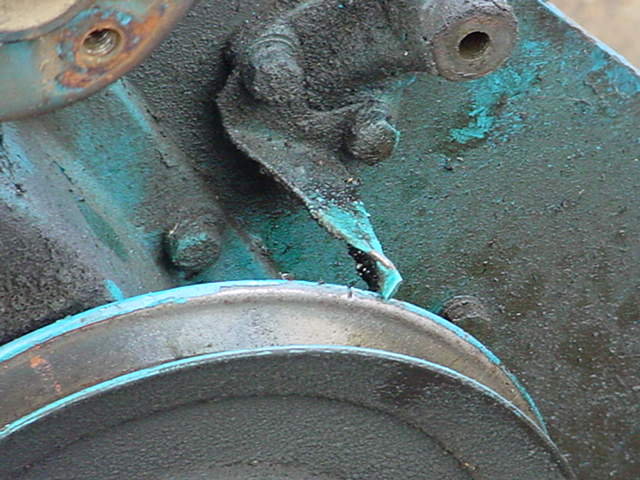
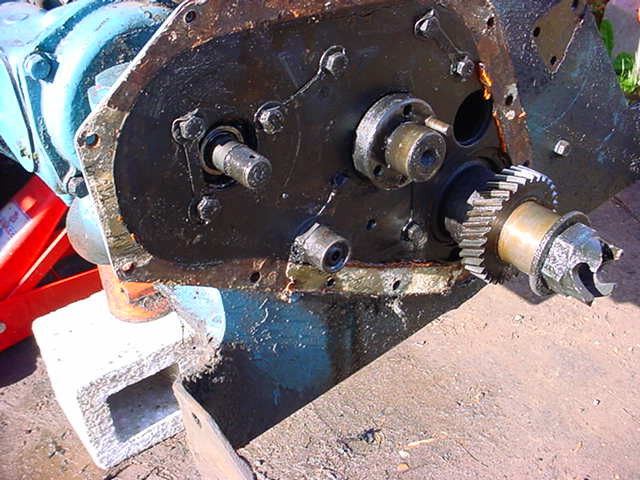
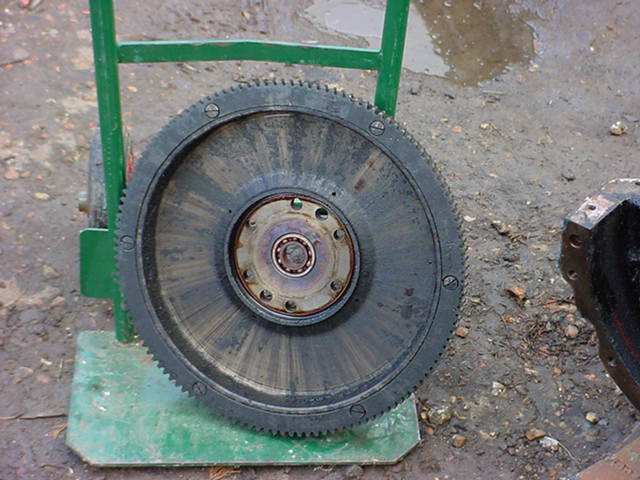
The early engines did not have marks on the flywheel for timing. Just a pointer and a notch on the front pulley. The first job is to remove the starting handle dog and the front pulley. I put the tractor in gear with the brakes on and the wheels blocked then use a large flat punch and big hammer to free off the starter handle dog. Once this has been removed a couple of levers and a tap or two and the front pulley comes off. Next its the timing cover. Early engines did not have any dowels to hold the timing cover or front plate in position. these came with the engine modifications around 1955 hwen it was found that front end loaders caused movement on the engine mounting plate and the gaskets would fail.
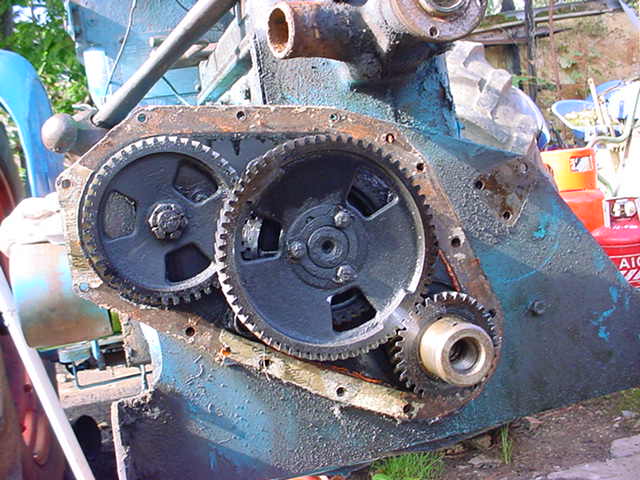
With the timing cover removed the timing marks on the gears can be found. Note the early model three bolt fixing cam shaft gears.
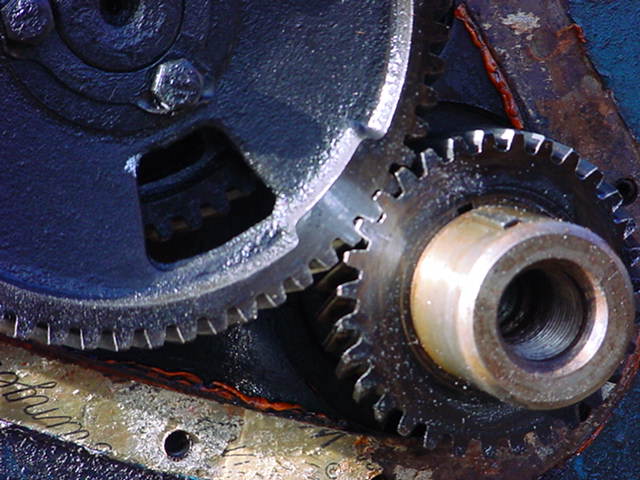
Timing marks crankshaft gear to large gear.
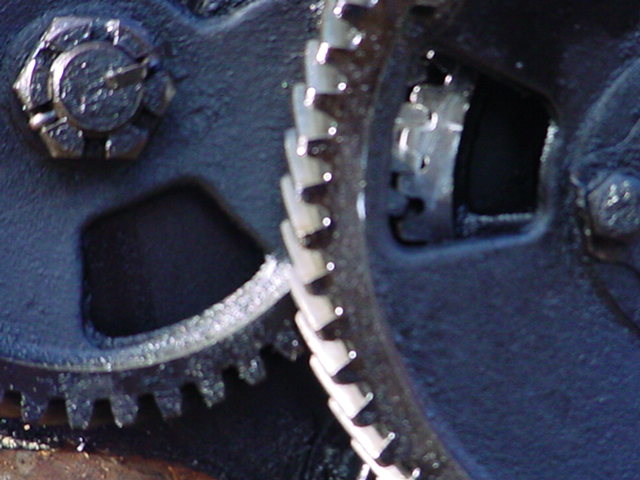
Auxillary drive shaft to cam shaft timing marks. Also note the split pin and castlated nut on the auxillary drive shaft. Later models had a Nylocks nut.












| Link to the main site: http://www.fordsontractorpages.nl | Link to the forum: http://www.fordsontractorpages.nl/phpbb2 |


| Link to the main site: http://www.fordsontractorpages.nl | Link to the forum: http://www.fordsontractorpages.nl/phpbb2 |
If you are new to Wiki, read OneMinuteWiki or VisitorWelcome.
Recent Topics